Self-hosting ODK Central (under your college dorm bed)

The ODK suite is a robust, and flexible set of tools for collecting data. At my previous employer, we used ODK to collect millions of submissions from dozens of forms, often with associated geolocation information, images, and timestamped metadata. Since the ODK software is open source, we were able to deploy our own ODK instances and host all our data on a cloud service provider, first with ODK Aggregate on AppEngine, then later with ODK Central on Digital Ocean.
However, once volume gets to be a certain size, running a cloud-based virtual machine (with backups, enough memory for load spikes, etc) can become cost prohibitive. For example, Digital Ocean charges $48 per month at the time of writing for a basic droplet with 8GB of RAM. The costs of the managed ODK offerings start at $200 per month, and competitors such as SurveyCTO are similarly priced. KoboToolbox has a generous free tier, but assuming that your survey will exceed 5000 submissions a month, they will charge $150 for the professional tier.
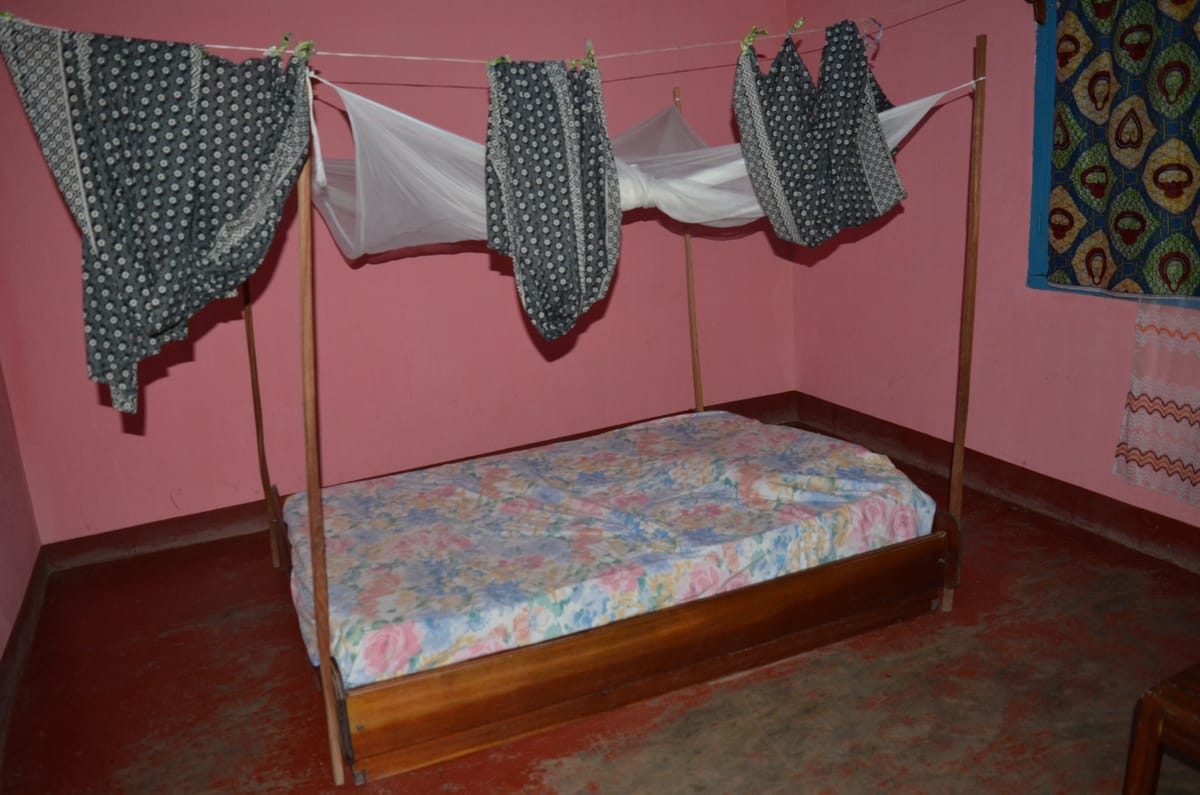
There are other reasons to used managed options (dashboards, mapping, user management, etc), but for many use cases, ODK Central is all you need. Since I still do one-off ODK work for consulting and research, I'll describe how I maintain my own ODK Central instance under my bed in my dorm room for $~5 per month, plus one-time hardware costs (~$80). While I mostly use it for private for testing ODK forms, there is no reason a similar setup couldn't be used for a data collection campaign.
A series of tubes
The basic idea is that we want to use a cloud provider to provide us an IPV4 address, host the domain, and forward all requests down to our local server which is running ODK Central. The cloud gateway is just a proxy, while the local server provides the processing power. It looks something like this:

There are other ways to get a proxy ... a lot of them, in fact. But the goal here is to keep as much of the data and network independent of other companies' pricing whims, and provide full control over DNS, HTTPS, and tunneling solutions. It also leverages skills that I have gained over time (nginx, networking, docker), and a different permutation of software or setup may be more inline with your skillset. In this tutorial, I'll be using rathole as the tunneling solution. It has been solid in my experience so far.
The above schema looks fairly straightforward, and it is useful to think about from the life of a request from a client trying to access your ODK Central server. When fully configured, the request will go from device → nginx (https on port 443) → gateway rathole (tunnel on custom port) → local server rathole (tunnel on custom port) → ODK Central (port determined by docker). With this basic flowchart in mind, we'll need to:
- Tell the nginx server how to forward on to rathole
- Tell rathole how to talk to ODK Central
Gateway Server Setup
The gateway server could be any virtual private server that you currently run in the cloud. The only two criteria is that it must have an IPv4 address and must be able to run rathole. You can shop around for the cheapest provider to do so, but I'm going to assume you are running Debian 12 on DigitalOcean's $4 per month instance.
ODK Central will need a fully qualified domain for security reasons, not just a bare IP. You may already have a domain name (for example,www.yourorganization.org) that you can create a subdomain on. Or you can purchase a dedicated domain name. In this tutorial, I'll assume you are using central.yourorganisation.org as the domain name, and you know how to point it at your newly minted server. Configuring DNS is beyond the scope of this tutorial.
Now that you have your server, your domain, and a link between them, we can start configuring the gateway. First, we'll want to install a few tools that we'll use: nginx, letsencrypt, and rathole.
# assuming Debian 12
# download nginx, letsencrypt, and utilities
sudo apt-get update && sudo apt-get upgrade -y
sudo apt-get install nginx certbot wget unzip -y
Next, we'll need to install rathole. The script below is a good starting point, but you may need to check the project's documentation for the latest steps to install the tunnel.
# grab rathole from github releases - you will probably
# want to grab the latest version, which is 0.5.0 at time
# of writing.
wget -c "https://github.com/rapiz1/rathole/releases/download/v0.5.0/rathole-x86_64-unknown-linux-gnu.zip"

# unzip the zip file
unzip rathole-x86_64-unknown-linux-gnu.zip
cd rathole-x86_64-unknown-linux-gnu/

# install the rathole binary somewhere on the path
sudo mv rathole /usr/bin/
Great! Now we are ready to start configuring the tunnel.
Tunneling with rathole
You'll need two matching configuration files - one on the gateway VPS and one on the local server. I refer to the gateway configuration as server.toml and the local server configuration as client.toml. Let's set up server.toml on the gateway. You can put it anywhere, but I like putting my configuration in /etc where most linux network configuration files live.
# create the /etc/rathole directory to contain the tunnel scripts
sudo mkdir /etc/rathole/

# touch the server.toml file into existance
sudo touch /etc/rathole/server.toml
Within this file, we'll put our gateway configuration. This will be a single route for HTTP on port 5050. Important: change the token value to a random identifier that only you know.
# server.toml
[server]
bind_addr = "0.0.0.0:2333" # `2333` specifies the port that rathole listens for clients

[server.services.central-yourorganisation-com]
token = "use_a_secret_that_only_you_know" # Token that is used to authenticate the client for the service. Change to a arbitrary value.
bind_addr = "0.0.0.0:5050" # `5050` specifies the port that exposes `my_nas_ssh` to the Internet
Awesome! Now we can start rathole by running rathole /etc/rathole/server.toml. It should start listening attentively.
Setting up the nginx proxy
For those familiar with nginx proxies, we only need a proxy on the cloud server. On the cloud server, we want nginx to listen to port 80 and 443 and forward both those ports on to our tunnel on port 5050. Here is an example configuration for odk.yourdomain.org that would go in /etc/nginx/sites-enabled/odk.yourdomain.org.
# This is the reverse proxy for odk.yourdomain.org.
# It listens to requests on port 80 and sends them
# to the rathole tunnel on 5050.
#
server {
    server_name odk.yourdomain.org;

    # turn on gzip compression by including config
    # NOTE: you should probably include other parameters
    # https://beaglesecurity.com/blog/article/nginx-server-security.html
    # https://www.upguard.com/blog/10-tips-for-securing-your-nginx-deployment

    location / {
        proxy_pass http://127.0.0.1:5050;
        proxy_http_version 1.1;
        proxy_set_header Upgrade $http_upgrade;
        proxy_set_header Connection 'upgrade';
        proxy_set_header Host $host;
        proxy_cache_bypass $http_upgrade;
    }
    listen 80;
}
Once configured, you should take steps to secure your server with SSL using certbot. This process is better covered elsewhere.
Local Server Setup
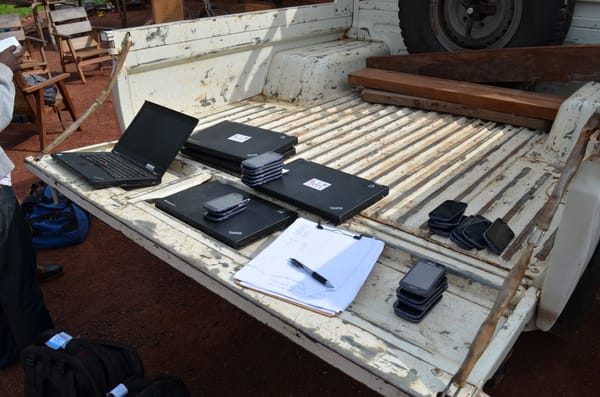
Computer hardware is surprisingly cheap these days! A perfectly capable server can be obtained used on Ebay for under $100. In a mission-critical setup, you'll obviously want some backups. Since the server is local, you could plug a USB drive into the server, backup to a mounted local network drive, or periodically clone the hard drive to a different device. The choice is yours!
Additionally, the price of local storage is much cheaper in the long run than hosting on a VPS provider, such as DigitalOcean. If the system needs more storage or memory, just pop open the chassis and upgrade like any of your other infrastructure.
You can use your favorite Linux OS on the local server. Personally, I'm partial to Debian, but ODK Central runs anywhere that supports Docker. This guide will not walk you through the ODK Central installation steps - they have a perfectly usable guide on their website.
Once you have ODK Central installed, the only change needed for self-hosting behind a tunnel is in ports section of the docker-compose.yml file. I'll explain why first, then resume the tutorial on how to configure the ports.
By default, ODK Central will try to listen on ports 80 and 443 for HTTP and HTTPS requests, respectively. The standard way to change these ports is in the .env file, however this will not work for tunneling. If you change the .env ports, ODK Central will start using those ports in the URLs for Enkento (for form rendering) and ODK Collect (for form submission). We don't want this - we still want to use the standard ports, just transparently proxied. In the network stack, one level about ODK is Docker, so it is at this level that we'll configure our port settings. ODK Central will still believe its using port 80 and 443 and happily serve requests with fully qualified domain names and URLs, none the wiser that we've put it at the end of a long tunnel.
In this tutorial, I'm going to use 5050 and 5051 as the tunnel endpoints to the local server, but you can use a different one if you desire. We won't be using 5051 at all, since both HTTP and HTTPS will be proxied to 5050, but we'll set it to avoid ODK Central's confusion.
Modify the docker-compose file, changing the ports to be those specified above.
Once done, we need to let ODK Central know that the HTTPS proxy will be handled upstream of this server (on our gateway, specifically). To do this, edit the .env file and set SSL_TYPE= to SSL_TYPE=upstream.
Once done, you may proceed with the installation of ODK Central as normal.
Testing your ODK Central setup
If you have made it this far, you should now have a gateway, a proxy on the gateway, a tunnel, and ODK Central running on the local server. You should always test your setup incrementally to figure out where issues might have cropped up. I follow this checklist:
- Verify that ODK Central is reachable on the local server using
127.0.0.1:5050. If you can reach the ODK Central login, then you know your ODK server is up and running correctly! - Verify that rathole is running correctly. To do this, simply access the
5050port on the gateway server in the cloud. You may need to open a firewall port to do so. If you can reach the ODK Central login, you know the rathole tunnel is working correctly. - Verify that your nginx proxy is working correctly. This involves going to your domain name (for example,
odk.yourdomain.org). If it resolves to the ODK Central server, you have succeeded!
If all checks past, you should be able to access your ODK Server from anywhere in the world. Let the data collection begin!


