Self-hosting ODK Central (from your basement)

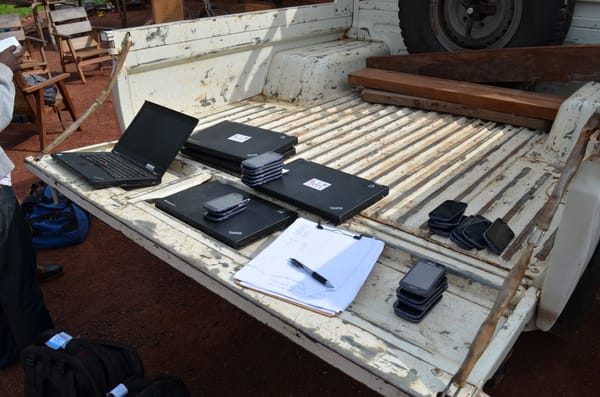
This post is a follow-up to a previous post about self-hosting ODK Central. This time, I'm no longer in a college dorm and upgraded my hosting to a basement. I've similarly improved my hosting to use maintained software and remove some of the manual hacks to make it all work.
Motivation
My previous solution to hosting ODK worked ... but that's about the only positive thing I can say about it. It was a kludge to maintain, particularly if I wanted to set up multiple self-hosted applications on multiple different servers. The main issues I ran into were:
- Key management for each different rathole tunnel.
- Juggling nginx configurations between HTTPS enabled and plain HTTP endpoints.
- My own poor documentation for my routes and exposed ports on the gateway server versus exposed ports on the host machines.
- Lack of maintenance on the rathole tunneling software, though there is some discussion about whether this is a positive or negative.
None of these are deal-breakers, and the old way still works. Part of the fun of self-hosting is that I get to explore new ways of doing things, and this journey led me to a better way of hosting using pangolin to replace both rathole and nginx.
Conceptual Model
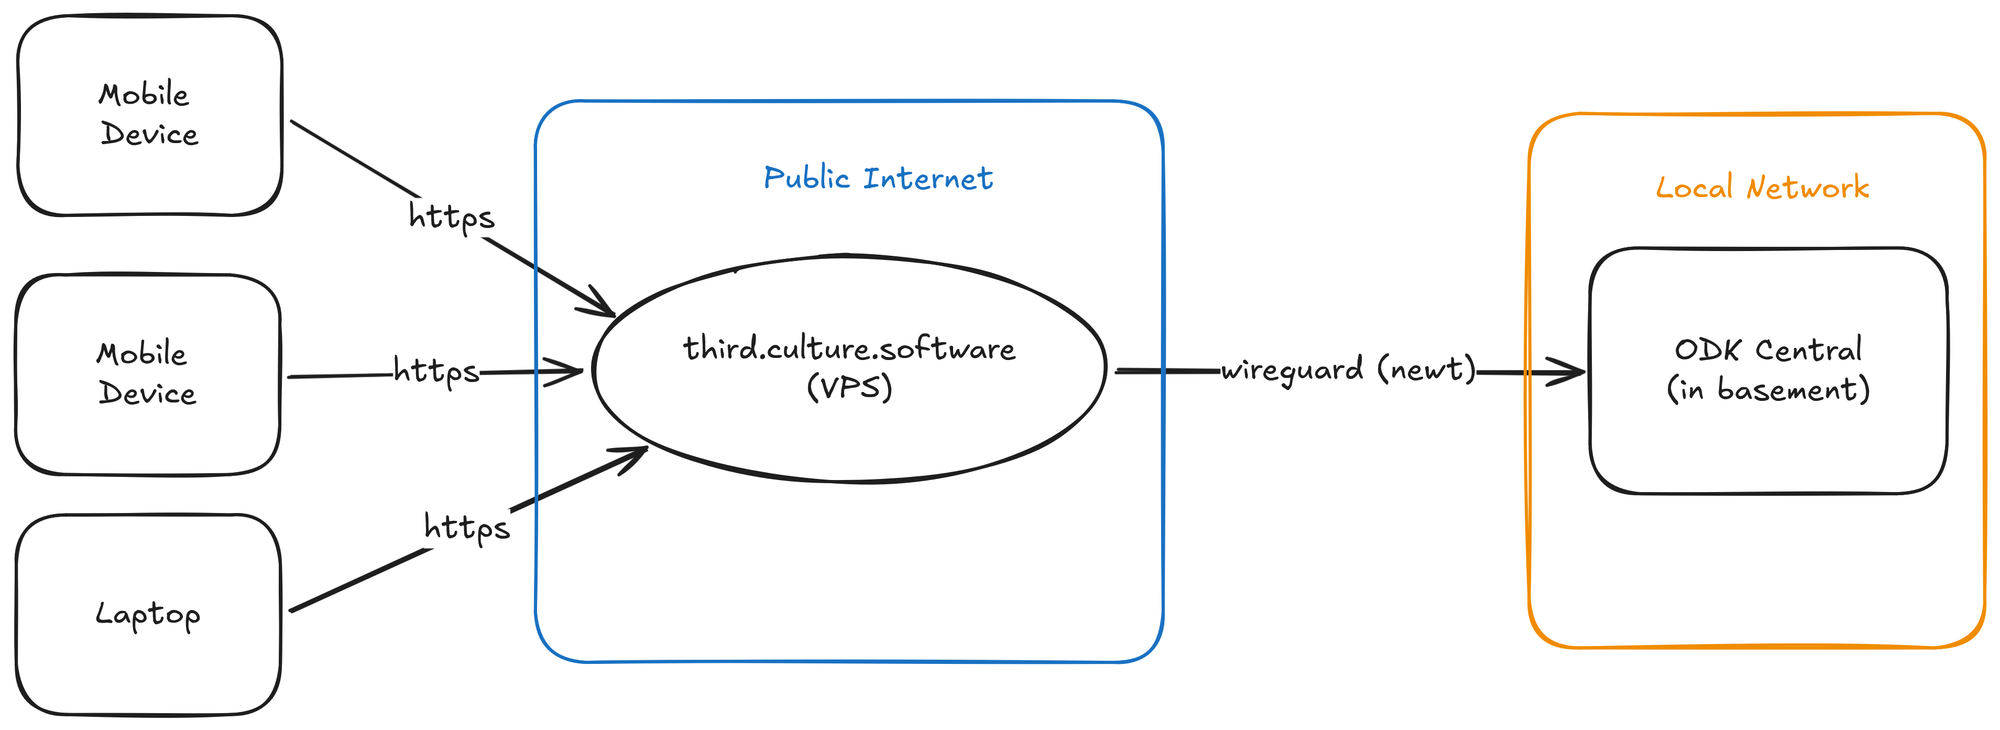
The conceptual model for hosting ODK Central is unchanged from the previous model - a public gateway server will receive HTTP(S) requests on specific domain names, perform TLS encryption/decryption, and forward the requests through tunnels to specific host machines on a given port. You will need to have a host machine with a public IP address and point your DNS addresses there.
I'm using pangolin, an open-source tool for remote access with which I have had good success over the last year. This blog post will not compare all possible alternatives to pangolin, but you should be aware that there are many, such as netbird, tailscale, and others. Pangolin will take care of much of the plumbing that previously used a combination of Nginx and rathole.
Self-hosting ODK does not mean you get around ODK Central's fundamental requirements of a virtual server and domain name. You will still need:
- A virtual machine (VPS) running at a cloud service provider to host pangolin. They recommend racknerd, and it has worked well for me.
- A domain name. For the rest of this blog, I'll be using third.culture.software as the domain name.
Assuming you have those things set up, we can now look at the model of what we hope to build:
Setting up your VPS
The first step is creating your VPS, and is beyond the scope of this guide. You'll want to create a virtual machine that has a public IP address on your provider, and get to the point where a Linux OS is fully installed. Here is a guide to installing and configuring a virtual machine on Digital Ocean.
Once you have a VPS, you'll need to know the IP address. Generally, the VPS provider should tell you, or you can get it by running ip a in your VPS terminal.
After creating your VPS, you'll want to map your domain name to your server IP address. For future ease, I generally use a wildcard mapping for all subdomains. This means that all traffic on any subdomain will be routed to my VPS, and I won't need to touch my DNS management system again. Assuming your IP address of your VPS is 117.131.155.96, you would put the following records in your DNS interface:
| Name | IP Address |
|---|---|
| *.third.culture.software | 117.131.155.96 |
| third.culture.software | 117.131.155.96 |
This configuration ensures that all new additional subdomains (for example, odk.third.culture.software) will route to your VPS, and then be forwarded on to your local server.
Installing Pangolin
For the most up-to-date installation guide, see the quick install guide. This guide will use the community edition. If you follow the installation guide, you will download and install an installer which will walk you through the installation. When prompted, put in your domain name (e.g. third.culture.software) and dashboard subdomain name (e.g. pangolin.third.culture.software).
Importantly, we'll be running pangolin in tunneling mode. When prompted answer "yes" to enabling tunneling. If tunneling is not enabled, pangolin will expect ODK Central to be installed on the VPS itself rather than on a different server elsewhere.
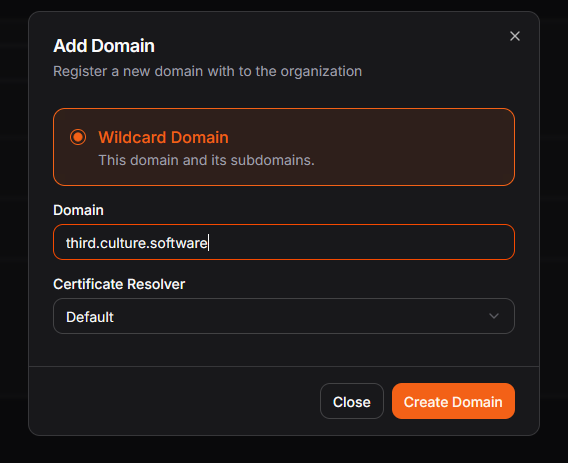
Once you have finished the installation, configure your first organization to your liking, add your domain as a wildcard domain (e.g. third.culture.software), and you'll be ready to set up your tunnel.
In Pangolin terms, your local machine will be a "site" and your ODK server hosted at that site will be a "Public Resource". In this guide, the ODK server will be hosted on the local machine at the end of the Pangolin tunnel, but you could have more complicated setup if you wanted. For example, if you run some sort of virtualization environment (e.g. Proxmox), you can imagine having the Pangolin site tunnel be hosted on one virtual machine, while it forwards data for several other machines on the same network. This setup is beyond the scope of this article.
In the Pangolin interface, go to the "Sites" page and click "add a site". It should look like this below:
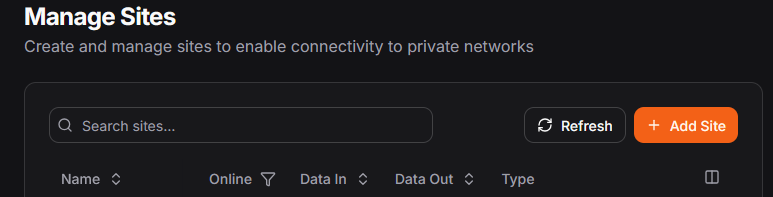
Choose the "Newt Site (Recommended)" setting and give it a name. For example, you might call your site "Lenovo Thinkpad T470" or something equally creative. This is the only thing required of you - Pangolin will provide you the commands in the "install" section to run on your local machine.
Setting up your local machine
For the purposes of this blog, I am assuming your local machine that will host ODK Central is running Debian Trixie (13). Make sure the machine is up-to-date, and then install the newt site connector from the "Install" instructions on Pangolin. It might look like this:
# installs Newt to manage the tunnel to your Pangolin instance
curl -fsSL https://static.pangolin.net/get-newt.sh | bash

# instals a new site
newt --id 1l4ufr9s782urvb --secret 73ru1fif1rsxzm1m23gllgxmj1w0ug4neo97t1kfp2hut13l --endpoint https://third.culture.software
Example configuration for your site.
I often write the newt command in full to a script file (e.g. newt.sh) that runs in the background on boot. This way, the tunnel will always start up on first boot. You could also make a systemd unit file for it or use any of your preferred script managers.
Once you run the newt command, you should see your site come online in the Pangolin dashboard.
Installing ODK Central
We are finally at the point of installing ODK Central! Follow the guide for installing on Digital Ocean. You'll want to make the following changes in your .env file:
- The domain should be a subdomain of your Pangolin instance (e.g.
odk.third.culture.software). - The SYSADMIN_EMAIL should be set to your email.
- The SSL_TYPE should be set to
upstream.
It is okay to leave the HTTP_PORT and HTTPS_PORT variables to their default values (80 and 443, respectively). If you change these, be sure to note them down as we will need them later.
Once you have your ODK server set up, it's time to hook it up to the Pangolin tunnel.
Hooking it all up
At this point, we have our VPS in the cloud with a domain name, and our ODK server in our basement, all configured. Now we just need to route traffic through the VPS to the local machine via a tunnel.
To create a new tunnel, go to "Resources > Public" on your Pangolin site and click "add a resource." It should look something like this:
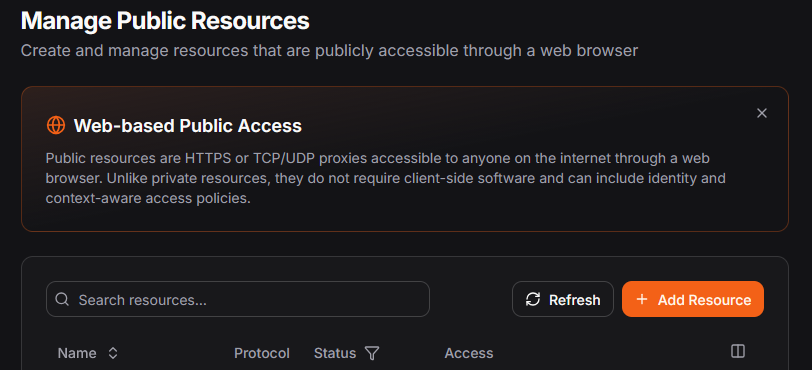
The resource type is an "HTTPS Resource." Give it a name (e.g. "ODK Central (Basement)" and type the prefix of the domain of the ODK server into the "HTTPS Settings > Subdomain" text box. In the example of "odk.third.culture.software", the "odk" portion is the subdomain and the "third.culture.software" is the "base domain".
Finally, add a target in the "Targets Configuration" section. In the "address" field, you should see your site name that you chose earlier (e.g. "Lenovo Thinkpad T470"). Choose "http" as the protocol, then type in 127.0.0.1 as the IP address, and the value of the HTTP_PORT you set in your .env file (80, if you left the default). Click "Create Resource" to finalize the creation.
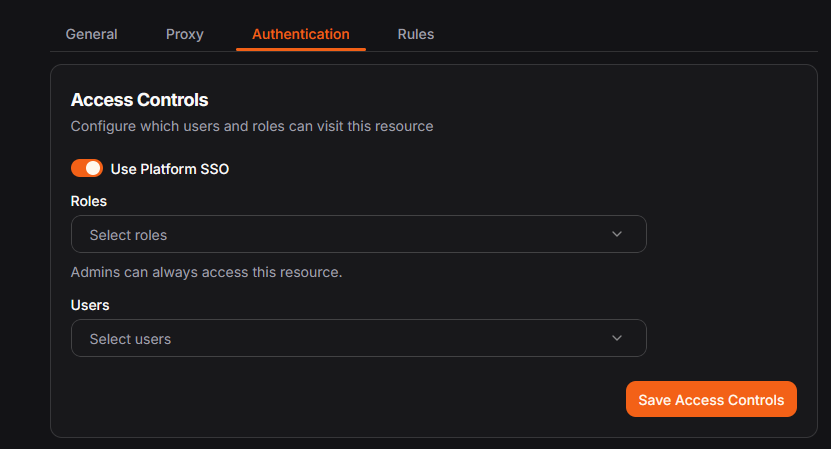
There is still one more step you'll need to do before you are home free. By default, Pangolin sites are "protected" which means that all traffic needs to log into Pangolin to be let through to the underlying resources. However, we want anonymous devices to be able to submit ODK forms. To do this, we need to disable the authentication for this specific site.
On the "Authentication" tab of the newly created resource, you'll find a section called "Access Controls." In that section, there is a toggle called "Use Platform SSO." Switch it off and click "Save Access Controls."
Finally, navigate to the domain name you chose for ODK Central (e.g.odk.third.culture.software) and you should see the ODK Central server ready for your use!
Wrapping Up
If you've gotten this far, well done! There are a few things to note:
- As a best practice, if you will use this in production, you should make sure to configure your ODK Central server, your
newttunnel, and Pangolin to all start on boot. An unexpected power outage or system failure could bring your entire site down, and it is best to prepare for this well in advance. I always do a full reboot of my systems and make sure they come back up before I consider them ready for production. - Because you are hosting web-available device on your local network, you'll potentially get a lot of traffic up/down your internet connection. This is to be expected. Don't host local sites if you have concerns about bandwidth or running out of internet data.
- One major advantage of running systems locally is that you have more options for backups. If you are running ODK in a virtual machine, take frequent snapshots and store them someplace secure. Use a USB stick to back up your data, or a NAS device, or both! It's generally much cheaper than trying to store more data in the cloud.